Product description & pricing guidelines
Updated April 24, 2026
Learn how to create engaging product names and descriptions, set smart pricing, and polish your product listings
Names and descriptions
Once you've finalized your product in the product designer, you'll land on the Product Details page. This is where you'll enter a product name, description, and price.
On the right-hand column, you'll see the editing view (what your fans will see in your shop), but in an editable format.

Tips:
-
Use fun, creative, engaging, yet authentic descriptions to make your product feel unique and meaningful to your customers.
-
Don't worry too much about technical details, such as sizing or garment information. If you're using catalog products, Fourthwall auto-fills those for you.
Remember: Names, descriptions, and prices are fully editable at any time. You can refine them later.
Pricing
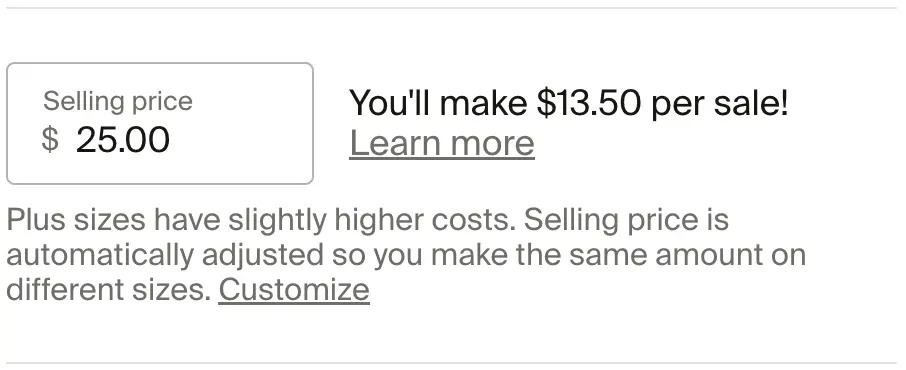
Directly underneath the product description text box, you will see the Selling price field. By default, this is set at about $10 more than the item's base cost. The profit per sale figure displayed next to this field equals your selling price minus the base cost. This figure does not include shipping costs or payment processing fees, which are handled separately.
We recommend rounding up the default pricing as well. Not only will this give you a few more dollars in profit, but it will also create cleaner pricing points on your site.
Example: If your product price comes out to $22 with a $10.50 profit, you could round it up to $25. This increases your profit to $13.50 while keeping your margin well above the recommended 20%.
Below the Selling price field, you'll also see a checkbox labeled "Add compare-at price." When selected, this lets you display a higher price (with a strikethrough) next to your selling price, highlighting a deal (e.g., $29.99 $25).
Recommendations
- Check the built-in profit calculator to test different price points.
- The profit figure shown equals your selling price minus the base cost. It does not account for shipping costs or payment processing fees (shown separately). 100% of this profit goes to you. Learn more here.
- Shipping is charged separately to the customer at checkout and does not reduce your profit per sale.
- Aim for at least $10 profit or 20% margin per sale. Our data shows this is the sweet spot for creators.
- Don't undervalue your work. Pricing too low can hurt perceived value.
- Generally speaking, an item with more going on can be sold for more:
- If a hoodie has a front, back, and one or more sleeve prints, and a suggested sale price of around $40, go for a $50-$60 price point and see what happens!
- If a basic tee with a single print on it is selling for the same price, you will likely have less interest in it than if it were selling for $25-$30.
- Generally speaking, an item with more going on can be sold for more:
Product cost for self-fulfilled products
If you sell self-fulfilled products (items you manufacture and ship yourself), you can record your own production cost using the Product cost field. This helps you track real profit margins across your catalog.
To enable Product cost tracking:
- Go to the Product Settings page for a self-fulfilled product.
- Under Product costs, check Set a product cost for your product so you can track your profits.
- Return to the product editing page, where a new Product cost field appears below the Selling price field.
- Enter your per-unit production cost and click Save.
The Product cost field is only available for self-fulfilled products. On-demand (catalog) products already have base costs set by Fourthwall, so the field does not appear for those product types.
Review your pricing when costs change
When Fourthwall updates manufacturing costs for an on-demand product you already sell, the platform prompts you to review your pricing before proceeding. This step appears automatically when cost changes affect your product.
On the Review your product pricing page, you can:
- Adjust your selling price to reflect the new manufacturing cost while maintaining your target margin.
- Keep your existing selling price by clicking Adjust selling price to be the same as previously, which preserves the profit margin you had before the cost change.
- Switch between simple and per-size pricing if the product supports multiple size-based price points.
This review step ensures that cost changes do not silently reset your custom prices. You stay in control of your final selling price.
Additional product details
Once your product is saved or published, you'll be able to edit additional details about it.
When you click Edit additional sections, you'll see:
- Garment details (material, weight, etc.)
- Size & Fit measurements
- Quality Guarantee & Returns
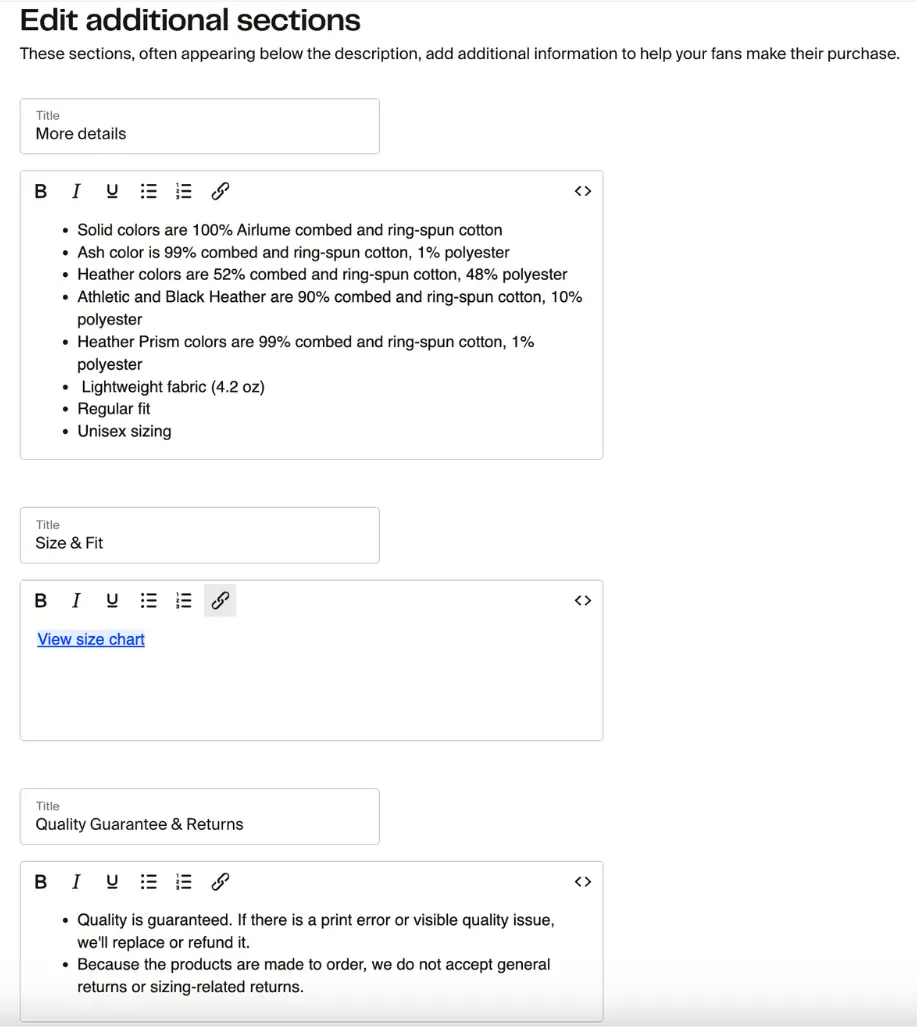
These are auto-filled each time a product is created, and editing these is not necessary.
Photography and design
Scroll further down to the Photography and design section:
- Rearrange color options by dragging the color dots (when applicable).
- Rearrange or delete product images.
- Upload new images (professional photoshoots are a great way to boost engagement).