Reusing Designs from Previous Products
Updated February 7, 2025
Apply artwork from any past product to a new one without re-uploading, with automatic placement mapping across print regions
Already uploaded a design you love? Instead of finding and uploading the same file again, you can pull it directly from your design history and apply it to any new product in seconds. The product designer remembers your recent artwork and handles placement, sizing, and even embroidery thread colors for you.
How recently used designs work
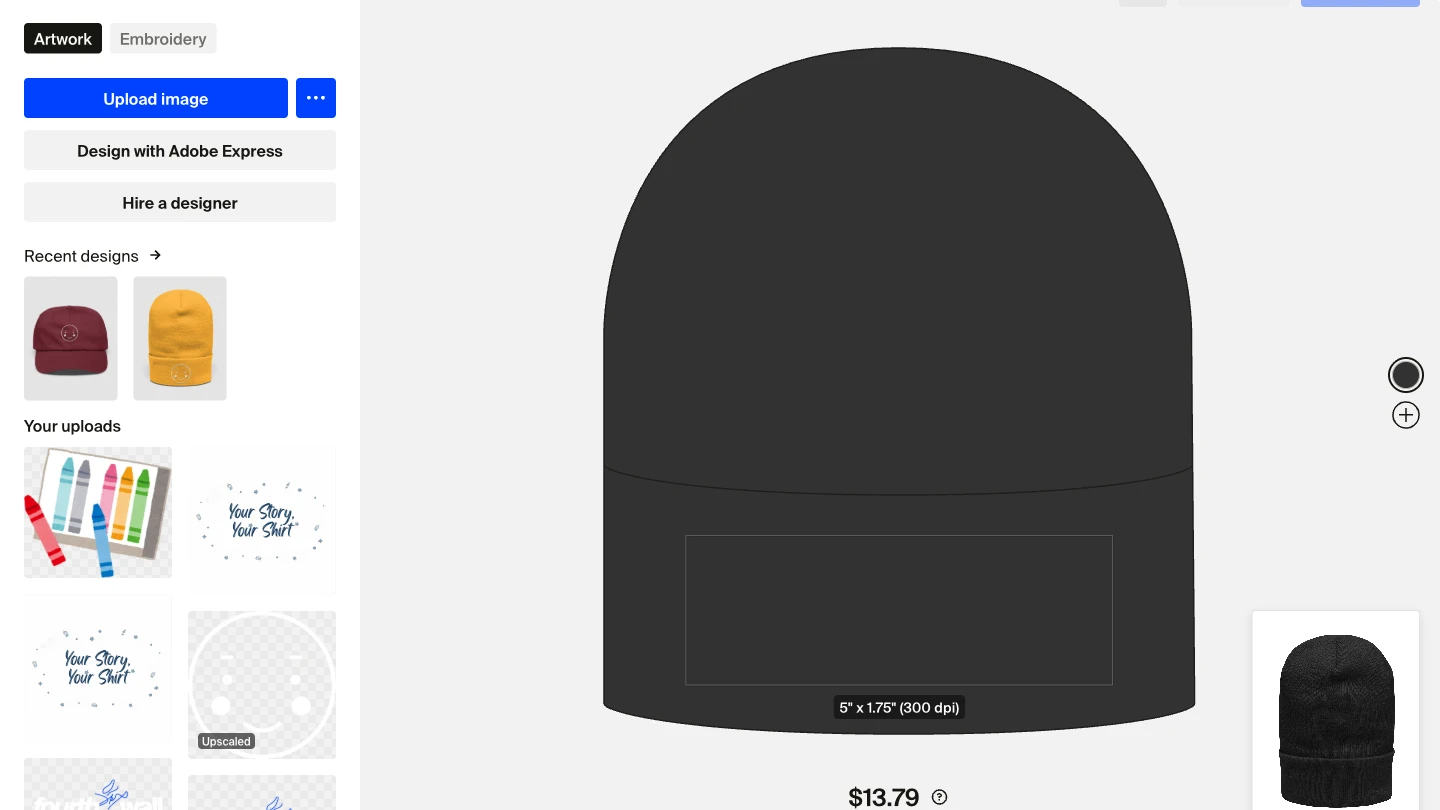
When you upload artwork and design a product, the product designer saves that design in your Recently Used Designs panel. The next time you create a product, you can browse a thumbnail grid of your past designs and apply any of them to the new product with a single click.
The system handles three key behaviors when applying a design to a new product:
- Exact placement. If the new product has the same print region as the original (for example, front chest on both), the design lands in the same position and size.
- Smart region mapping. If the regions differ, the designer maps similar areas automatically. A design on the left sleeve of a hoodie can map to the left leg of joggers, for instance.
- Auto-fit for large designs. If your original artwork is too large for the new product's print area, the designer scales it down to fit within the printable boundaries.
Select a recently used design
To reuse a past design on a new product:
- Open the product designer by selecting a product from the catalog and clicking Design now.
- In the left panel, look for the Recently Used Designs section. You'll see a thumbnail grid of artwork from your previous products.
- Click the design you want to apply.
The design is applied to the current product immediately. If the product has multiple print regions, the designer distributes artwork across matching regions based on the original product's layout.
How placement mapping works
The product designer uses print region groups to determine where your artwork goes on the new product. Each print region on a product (front, back, left sleeve, right sleeve, label) belongs to a logical group. When you apply a design from a different product type, the system matches regions by group.
Here's how the mapping works in practice:
- Same region exists. A front-chest design on a crewneck maps directly to the front chest on a T-shirt. Position, size, and rotation carry over exactly.
- Similar region available. If the exact region doesn't exist, the designer looks for a region in the same group. A left-sleeve design could map to a left-leg region on joggers or a left-panel region on a tote bag.
- Region not available. If no matching region exists on the new product, that part of the design is skipped. The other regions still apply normally.
After the design is placed, you can adjust each region's artwork independently using the standard positioning and resizing tools.
Embroidery thread color inheritance
When you reuse a design from an embroidered product on another embroidered product, the designer carries over your thread color selections. This saves time when you've already picked specific thread colors that match your brand.
Thread color inheritance only applies when both the original and the new product use embroidery as the production method. If the new product uses a different method like Direct-to-Garment (DTG) or Direct-to-Film (DTFx), thread colors do not apply.
Fine-tune after applying
After applying a recently used design, review and adjust the placement on the new product:
- Check each print region. Click through the region thumbnails on the left side of the designer to verify artwork placement on each area (front, back, sleeves, label).
- Reposition if needed. Click and drag artwork to move it, or use Set Position in the toolbar for exact coordinates.
- Resize for the new product. If the auto-fit scaled your design, you may want to adjust. Use Resize in the toolbar to enter specific dimensions in inches or centimeters.
- Stay in the safe zone. Make sure artwork stays within the dotted-line print area. A red border means the design is outside the printable area and may cause production errors.
If your design looks pixelated or the quality indicator turns yellow or red after applying to a larger print area, consider re-uploading a higher-resolution version of the artwork (at least 300 Dots per Inch (DPI) and 3000x3000 pixels for larger prints).
Frequently asked questions
How many recent designs are saved?
The Recently Used Designs panel shows artwork from your most recent products. As you create more products, older designs cycle out of the panel.
Can I reuse a design from an embroidered product on a printed product?
Yes. The artwork itself transfers to the new product. Thread color settings only carry over between embroidered products. On a printed product, the design uses standard color rendering for the selected print method.
What if the new product has fewer print regions?
The designer applies artwork only to regions that have a match. If the original product had front and back designs but the new product only supports a front region, only the front design is applied. The back design is skipped.
Does this work with all product types in the catalog?
Yes. You can reuse designs across any product types that support artwork in the designer, including apparel, accessories, drinkware, and home goods.
If you have any questions, do not hesitate to contact us at support@fourthwall.com.