Build your Fourthwall website step by step
Updated March 24, 2026
Create and customize your site layout, pages, and branding
Easily create your Fourthwall website from scratch using the site editor. This guide takes you through the exact steps to design, customize, and finalize your site, even if you're a beginner!
Build and design your site
Note: Before you start, make sure you're logged in to the correct account with the right permissions assigned.
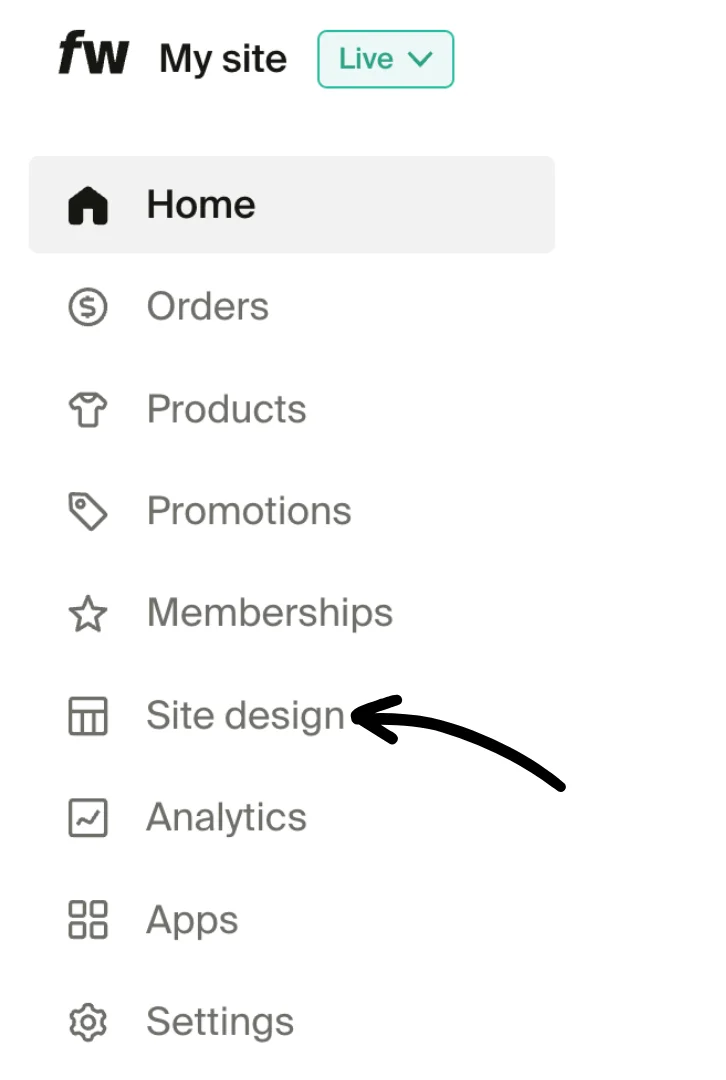
Step 1: Open the Site editor
In your Fourthwall dashboard, select Site design from the left menu.
Step 2: Understand Fourthwall's Site design options
Fourthwall’s site editor has four main tabs:
- Layout. Add, remove, and reorder sections on your page
- Style. Control colors, fonts, logo, and branding
- Pages. Create and manage additional pages
- Theme. Apply preset design themes
To learn more, go to: Understanding Fourthwall's Site Design Options
Step 3: Customize your Homepage layout and content
Use Site design > Layout > Home to add, remove, and edit sections on your homepage. You can insert different section types such as image banners, text blocks, or videos, then configure their content and layout to match your site’s goals.
You can also edit existing sections, including the default header or image.
Note: Changes appear in the live preview as you work.
For complete layout options and section types, see the Customize Your Homepage Layout help article.
Step 4: Customize your site’s colors and visual style
Use Site design > Style to control your site’s global look and feel, including colors, background visuals, borders, and the appearance of product cards. These settings apply site-wide, with optional overrides available in individual sections when needed.
You can adjust your primary, background, and text colors, upload a background image, and fine-tune rounded corners for buttons, inputs, and images. If your site displays products, you can also customize how product cards appear, including image ratios, hover effects, and promotional badges.
Check out the full customization guide here.
You can upload your logo and add your social links in this tab for branding and promotional purposes.
Step 5: Create and customize additional pages
You can go back to Site design > Layout to create custom pages such as an About page, press kit, FAQ, or other brand-specific content. Custom pages help organize information, improve navigation, and give your site a more complete, professional structure.
After creating a page, you can add, move, hide, duplicate, or delete sections to control its layout and content. Once published, pages can be added to your site menu, featured on other pages, or shared directly using their unique URL.
Use this helpful article as your guide for creating and editing custom pages.
Step 6 (Optional): Update or switch your shop theme
Your site theme (Site design > Theme) controls the overall look and feel of your storefront, and you can switch themes at any time to refresh your design without rebuilding your site. Fourthwall lets you browse and preview templates on desktop and mobile, then activate the one that best fits your brand.
You can also reuse, duplicate, or reset existing themes as needed. Only the active theme can be edited, so if you want to make changes without showing them live, set your site to Coming Soon mode while you work on changes.
This step is optional and best used when:
- You want a visual refresh following launch
- You are experimenting with branding or layout changes
- You want to test a new theme without changing your products or pages
Next steps
Now that you have a site, it's time to create your product listing and continue to set up your shop!