Add custom HTML and code to your site
Updated August 7, 2026
Add custom HTML, CSS, or Liquid code to individual pages or your entire Fourthwall site
You can add custom HTML, CSS, or Custom Liquid code to your Fourthwall site to personalize it even further. For example, you might embed a Spotify player, a Twitter/X feed, a Google Maps location, or display dynamic product and collection data using Liquid objects.
There are two ways to add custom code:
- To a specific page on your site
- To your entire site
Add custom HTML or CSS to a specific page
-
From your Fourthwall dashboard, go to Site design > Layout.
-
Choose a page from the drop-down menu (for example: Home, Product pages, or Custom pages).

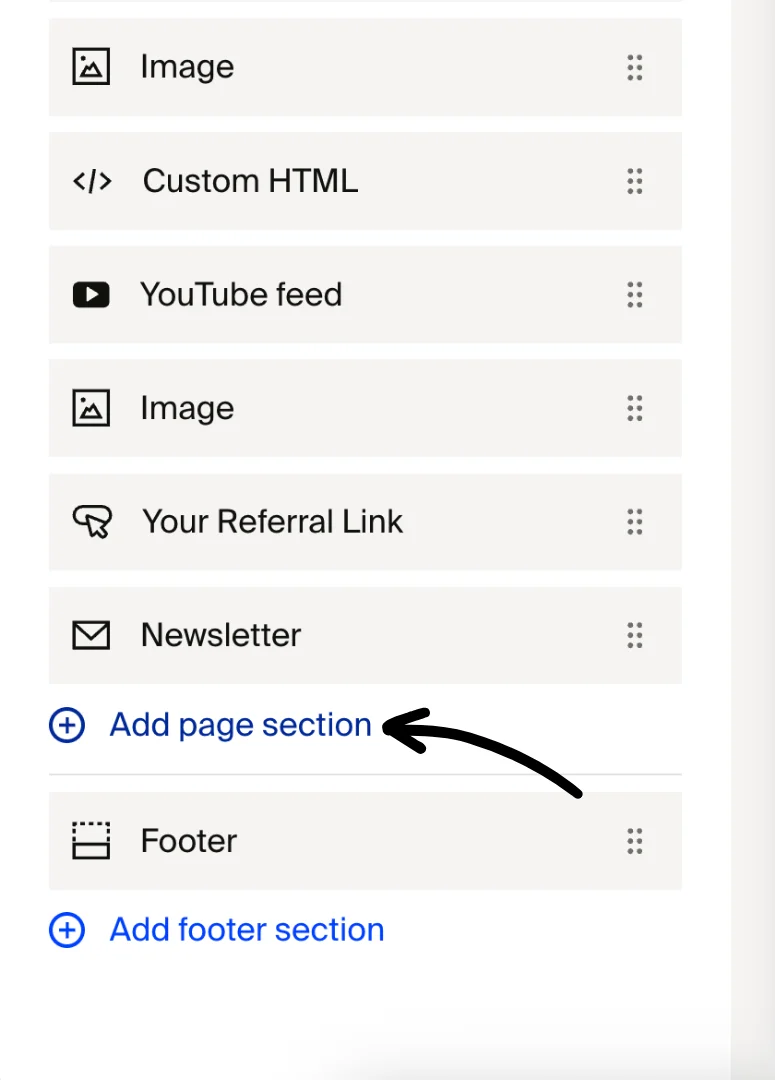
- Scroll down and click Add page section.
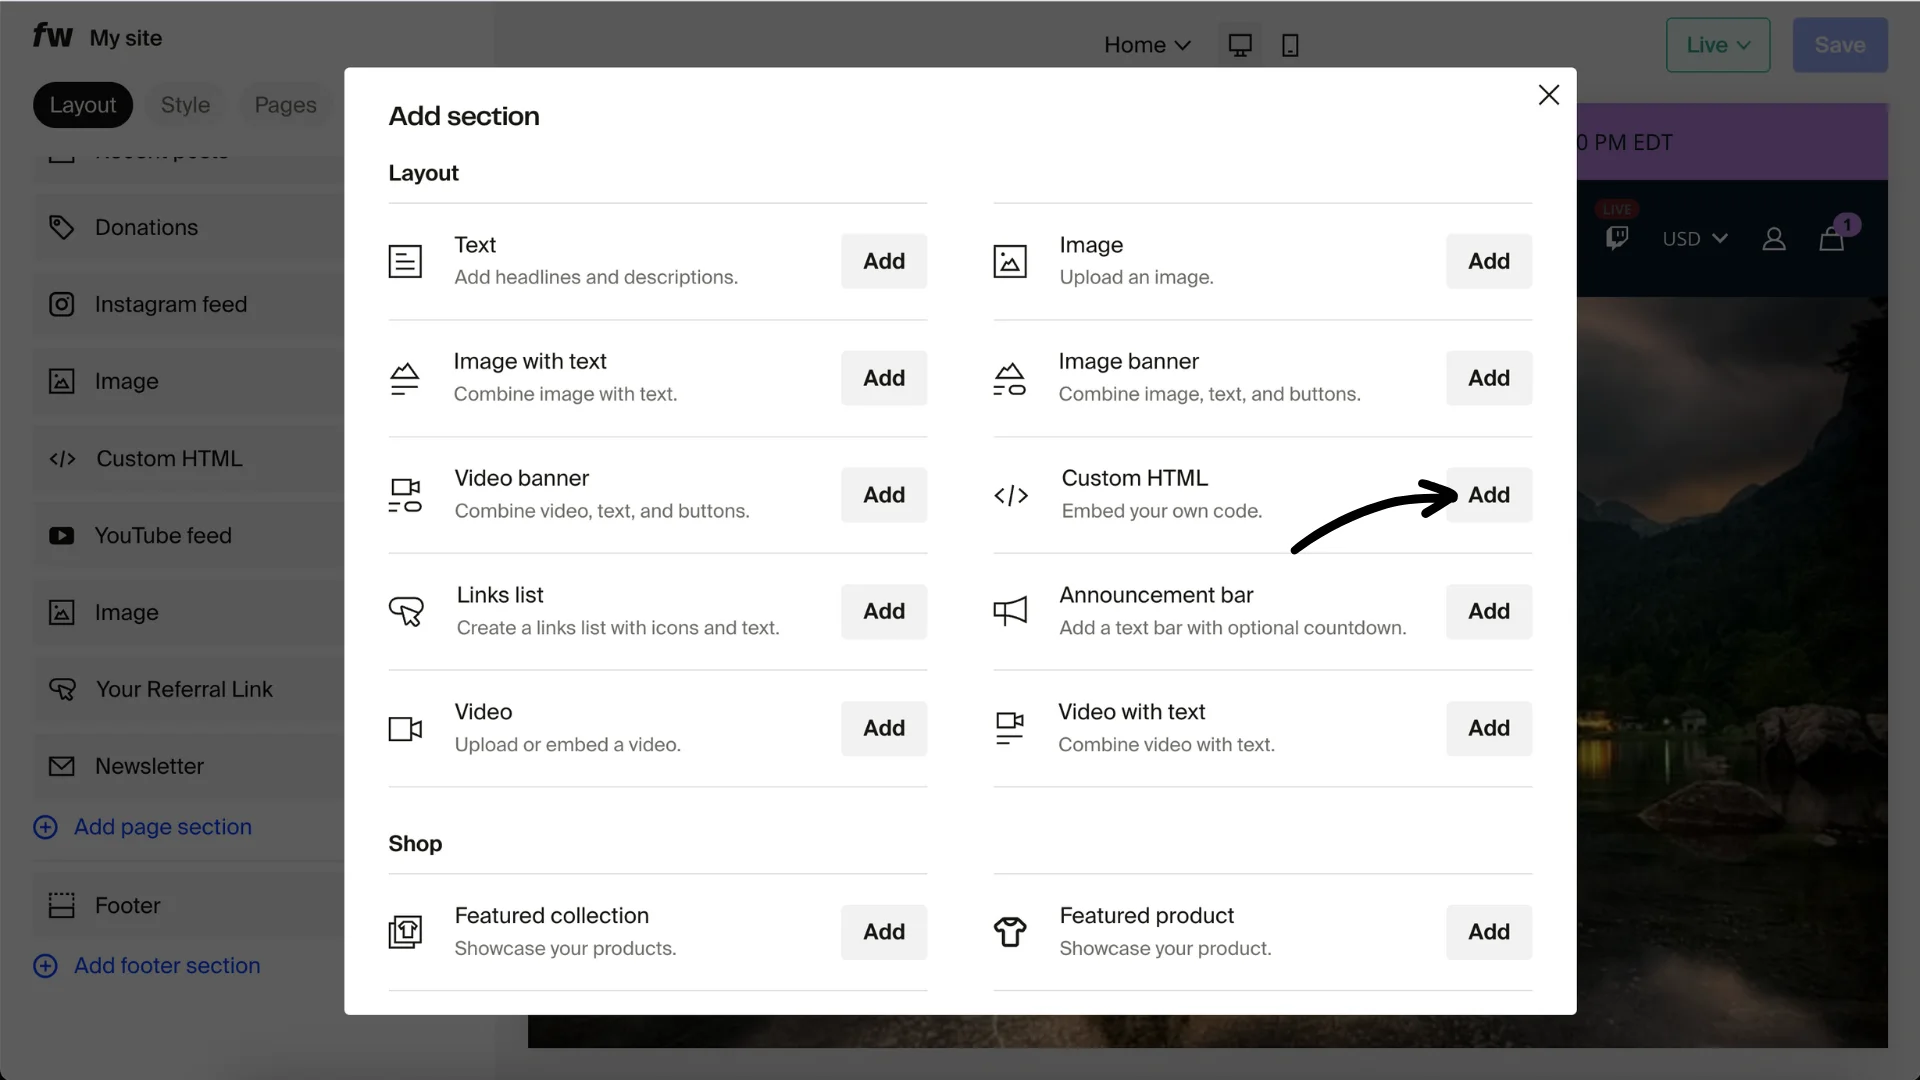
- Select Custom HTML to open the Code Editor.
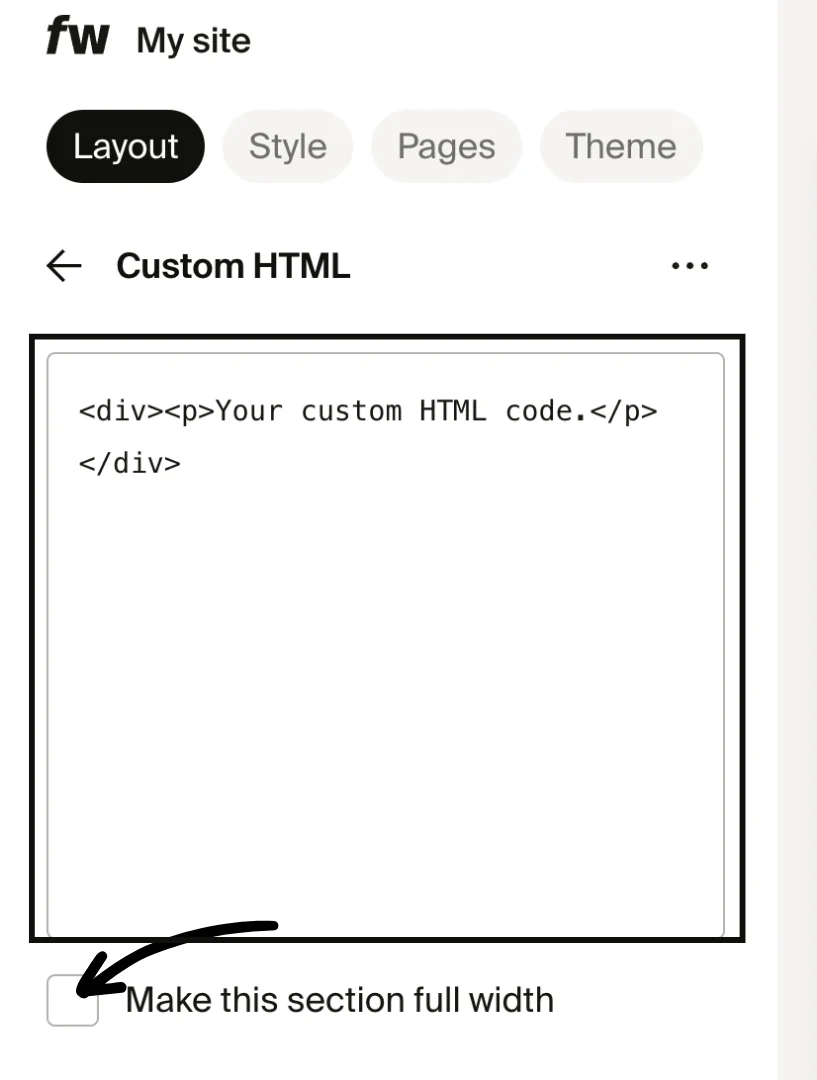
- Enter your HTML or Custom Liquid code in the Code Editor (and optionally choose to make this section full-width).
-
To style the section, check Add custom CSS code and enter your CSS.
-
After adding the custom HTML section, drag and drop it to place it above or below other sections on the page.
Custom Liquid code
Custom code sections in Site Designer support Custom Liquid, a templating language that renders server-side before the page reaches your customers. This means you can pull in live data from your shop and display it dynamically.
With Custom Liquid, you can access these dynamic objects:
- products. Display product details like titles, prices, images, and availability directly in your custom sections.
- collections. Show groups of products from your collections, including collection names and product lists.
- memberships. Reference membership tier names, perks, and other membership data in your custom code.
Custom Liquid code renders on the server before the page loads, so customers see the final output without any extra client-side processing.
Check the inline documentation linked in the Code Editor for a full list of available Liquid objects and their properties.
Code Editor features
The Code Editor in Site Designer includes several tools to help you write and manage custom code:
- Syntax validation. The editor checks your code for errors before you publish, so you can catch mistakes before they go live on your site.
- Full-screen mode. Expand the editor to fill your screen for a better view when working with longer code blocks.
- Auto-closing tags and improved indentation. Opening tags are automatically closed and code is indented properly as you type, keeping your markup clean and readable.
- Inline documentation. The editor links to documentation showing available Liquid objects and their properties, so you can reference them without leaving the editor.
Add custom code to your entire site
- In Site design > Style, scroll down and click Edit HTML code.
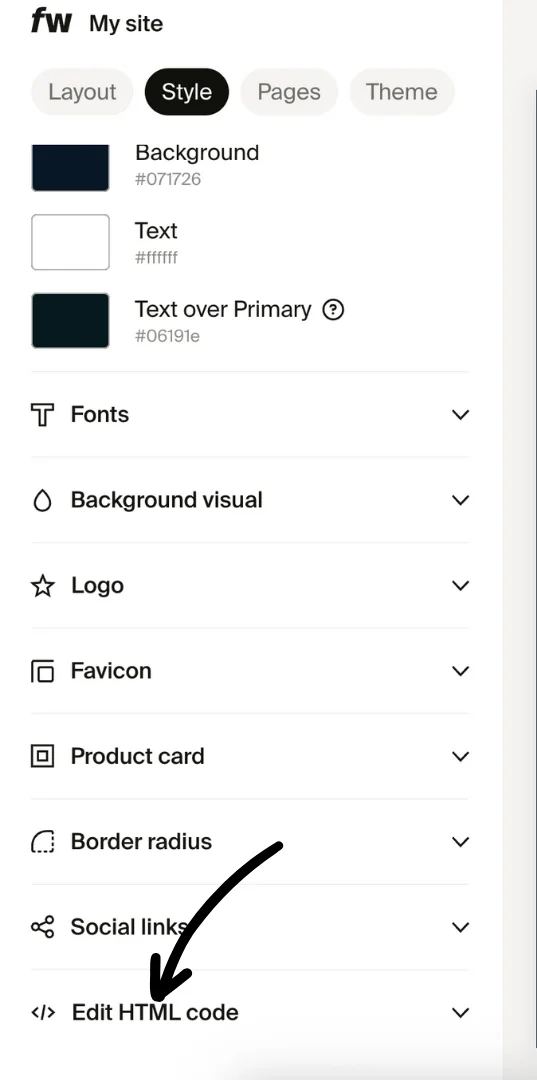
There is no Customize button on the Theme tab. To open the code editor, go to Site design > Style and click the Edit HTML code link directly.
- In the editor, you can:
- Enable header or footer code
- Add custom CSS that applies to your whole site

Caution: Only add custom code from trusted sources. Untrusted code may open you to security risks.
Example: Display an animated logo in your header
The default header logo slot (see Upload and edit your logo) processes uploaded images through Fourthwall's CDN, which converts every image to a static format. That conversion strips animation from GIFs, so an animated logo uploaded through the standard logo field will display as a still frame.
To show an animated logo, bypass the logo slot and render the GIF directly with header code:
- Upload your animated GIF somewhere it can be served from a public URL (for example, a CDN, an image host, or an existing asset on your site).
- In Site design > Style, scroll down and click Edit HTML code.
- Enable header code.
- Paste an
<img>tag pointing to your GIF's direct URL, along with any CSS needed to position and size it. For example:
<img src="https://your-cdn.example.com/logo.gif" alt="Animated logo" style="height: 40px;" />
- Click Save.
Because the <img> tag loads the GIF directly, it skips the CDN pipeline that converts images to a static format and the animation plays as expected. You can hide or replace the default logo by adjusting your theme's header layout, which is covered in Edit your store's header.
Verify your site with external platforms
Many platforms require you to add a verification meta tag to your site's <head> section to prove ownership. You can do this using header code.
Common platforms that use meta tag verification:
- Pinterest (to claim your website for Rich Pins and analytics)
- Google Search Console (to verify site ownership for search performance data)
- Bing Webmaster Tools
- Other social platforms that require HTML tag verification
To add a verification meta tag:
- Copy the meta tag provided by the platform (for example, Pinterest gives you a tag like
<meta name="p:domain_verify" content="..." />). - In Site design > Style, scroll down and click Edit HTML code.
- Enable header code and paste the meta tag into the header code field.
- Click Save.
- Return to the platform and complete the verification process.
Each platform provides its own unique meta tag. Follow the platform's instructions to generate your specific tag before pasting it into your header code.
Cookie policy compliance
If your custom code uses cookies, note that Fourthwall's cookie policy banner does not apply to it. To stay compliant:
- Update your custom code to respect the visitor's consent (stored in the 'cc_cookie'), or
- Remove the code and instead use Fourthwall's built-in Apps or the Analytics section.
Learn more in our cookie policy help article.